Step 1: Prepare Your Tapni Digital Card
Ensure your Tapni digital card is set up and ready. This involves creating your digital card with Tapni and ensuring all your contact information is accurately displayed. You can watch how to set up your Tapni profile here.
Step 2: Access the Wallet App on Your iPhone
Open the Wallet app on your iPhone. This app is pre-installed on all iPhones and is the gateway to adding cards to your Apple Wallet, which syncs with your Apple Watch.
Step 3: Share Your Tapni Card
Within the Tapni app, locate the option to share your Tapni card. This can usually be found by selecting the share icon in the top right corner of your app.
Choose to share the link via AirDrop, SMS, or any other available method. This action generates a link that, when accessed, prompts the addition of your Tapni card to the Wallet.
Step 4: Add the Tapni Card to Your Apple Watch Wallet
On your Apple Watch, navigate to the message or notification that contains the link you shared from your iPhone.
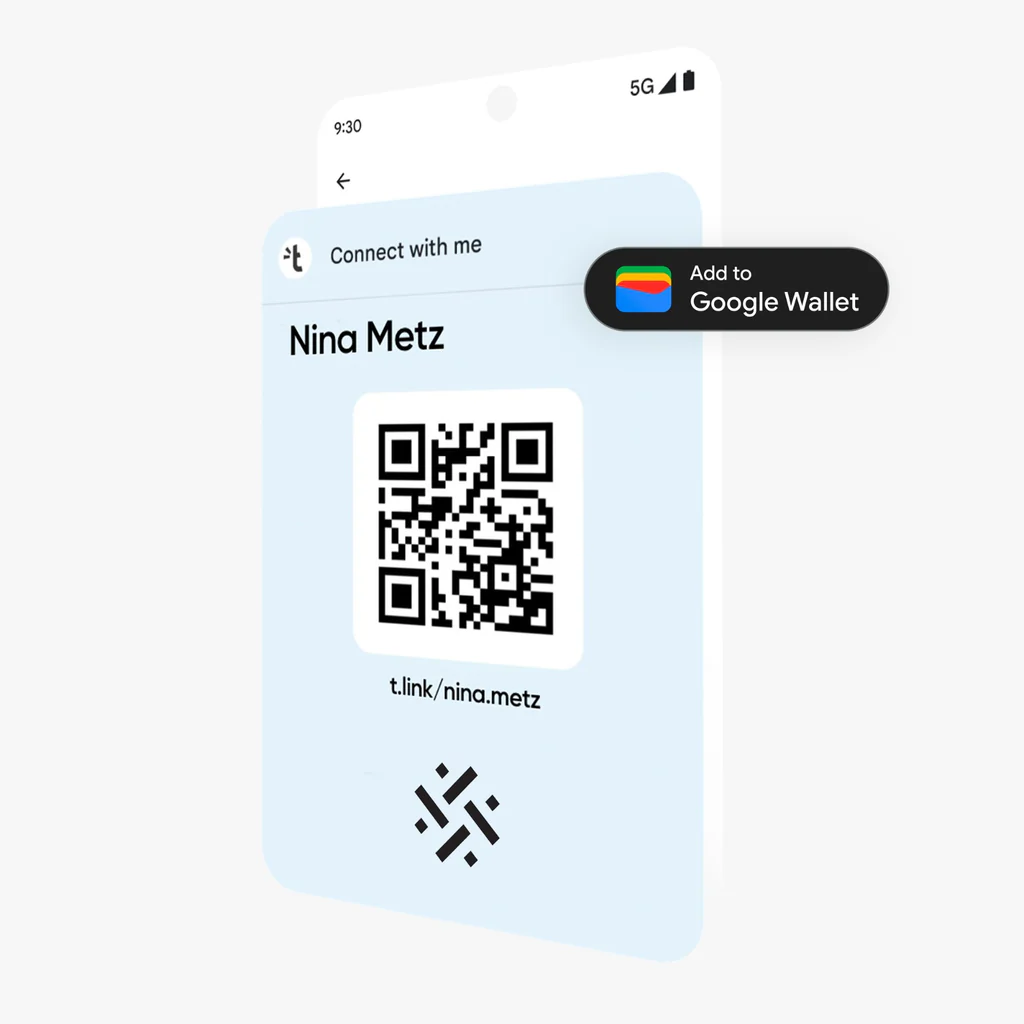
Tap on the link to open it. You'll be greeted with a prominent "Add to Wallet" button. Click this button to integrate your Tapni digital card into your Apple Watch Wallet.
Follow any additional prompts to ensure the card is added successfully.

Summary: Embrace the Future of Networking
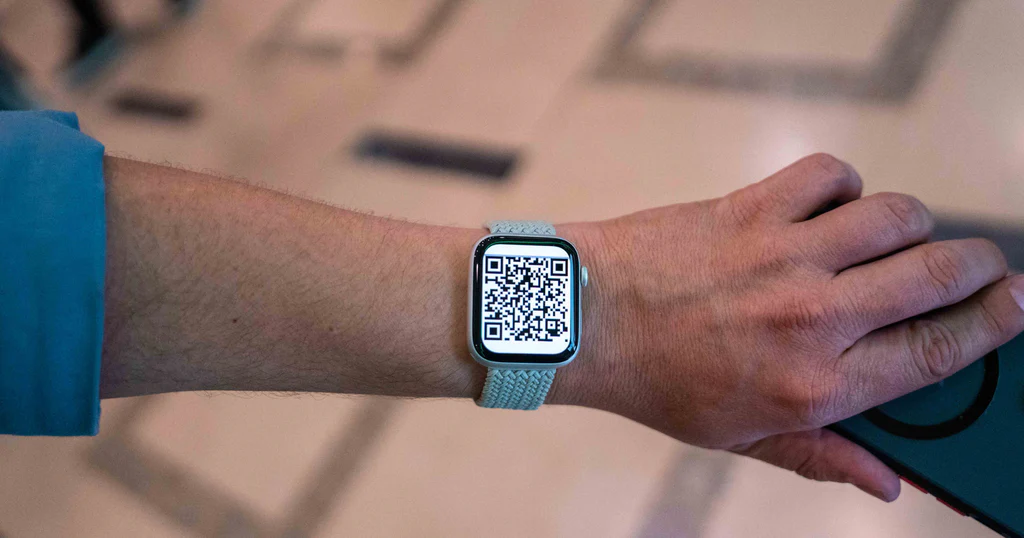
By adding your Tapni digital card to your Apple Watch Wallet, you embrace a new era of networking — one that's fast, efficient, and perfectly suited for the digital age.
This method not only makes sharing your contact information a breeze but also positions you as a tech-savvy professional ready to connect in the most modern ways. With your digital business card just a wrist-lift away, you're always prepared to seize every opportunity that comes your way.
Welcome to the future of networking, where your digital presence is as significant as your physical one.


