Browse our comprehensive product guides and documentation
If you've ever walked a red carpet at a movie premiere, attended a corporate gala, or scrolled through influencer photos from a product launch, you've seen a step and repeat banner in action — even if you didn't know the name for it. That repeating pattern of logos behind the subject of a photo isn't just decoration. It's one of the most effective, low-cost brand exposure tools available to any business hosting a public-facing event in New York City.
After spending over two decades in large format print production, I've watched step and repeat banners go from a niche Hollywood accessory to a staple at everything from Brooklyn product launches to Midtown corporate conferences. The demand for a well-made step and repeat banner nyc clients can count on has grown right alongside that shift — and so has the number of ways to get it wrong.
This guide breaks down what actually matters when you're sourcing one, so you don't end up with a banner that looks great in the mockup and falls apart (literally or visually) at the event.
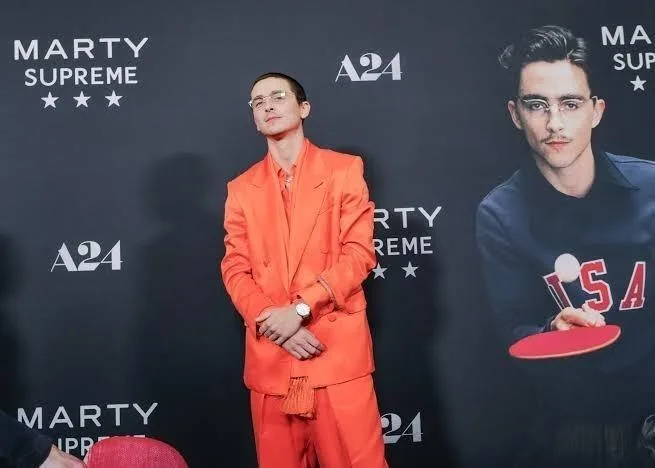
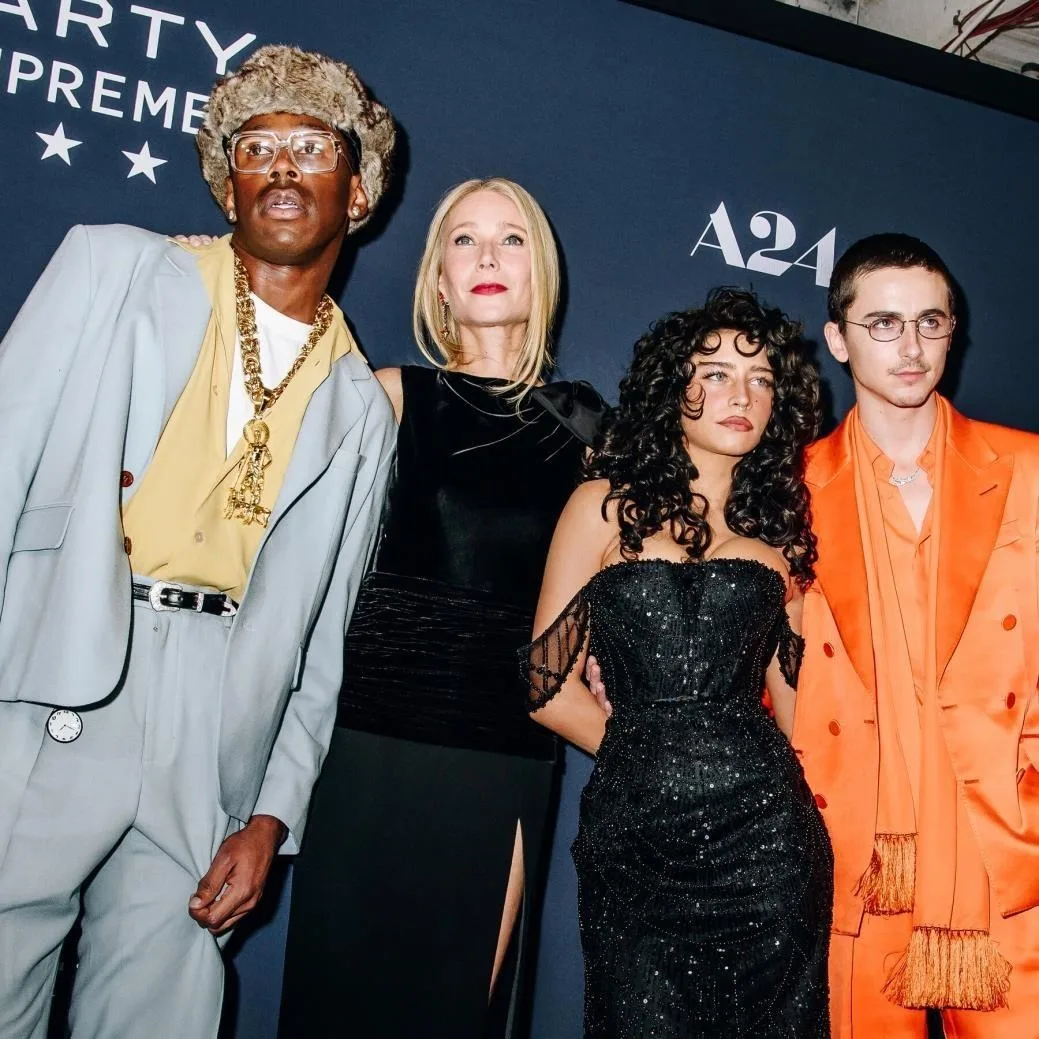
A step and repeat banner is a printed backdrop featuring a repeating pattern of one or more logos, arranged in a grid so that no matter where a photo is framed, at least one full logo appears in the shot. The name comes from the photography world — photographers "step" to a new position and "repeat" the shot, and the banner behind the subject stays consistent across every frame.
The format matters more than most people realize. A poorly spaced repeat pattern means some photos end up with half a logo cut off at the edge, or worse, no logo visible at all. Getting the spacing, sizing, and logo hierarchy right is a design discipline in itself — not just a print job.
Commentary: In my experience, the single most common mistake first-time buyers make is treating this like a poster order. A poster is designed to be viewed as a whole. A step and repeat is designed to be cropped — every panel needs to function as its own mini-composition, because that's how it will actually be seen in photos.
New York City event spaces come with constraints that don't show up in generic backdrop guides written for suburban conference centers or open-air venues. Anyone sourcing nyc step and repeat signage needs to plan around a few local realities:
- Ceiling height and rigging restrictions. Many Manhattan venues — hotel ballrooms, gallery spaces, rooftop venues — have specific rules about what can be hung from grid systems or pipe-and-drape, and how much weight is allowed. This affects whether you need a fabric banner (lighter, foldable) or a more rigid vinyl or foam-mounted panel.
- Load-in windows. Many NYC venues give vendors a tight load-in and load-out window, sometimes as short as 60–90 minutes. A banner that requires complicated on-site assembly can eat your whole setup window before the event even starts.
- Lighting variability. Step and repeat banners get photographed under everything from harsh camera flash to warm ambient event lighting. Matte versus satin laminate finishes behave very differently under flash — a glossy finish can create hot spots and washed-out logos in photos, which defeats the entire purpose of the banner.
Commentary: This is where a local production partner earns their fee. A print shop with real NYC job history knows which venues need retractable stand systems versus pipe-and-drape mounted panels, and which finish options actually photograph well under a specific venue's lighting rig. That's knowledge you only get from doing the work in this market repeatedly, not from a generic national print catalog.
When people search for step and repeat printing nyc, they're often comparing price first and material second — which is backwards. The material determines durability, portability, and photo quality, all of which matter more over the life of the banner than a small difference in upfront cost.
Common options include:
1. Vinyl banners — durable, affordable, and the standard choice for most single or multi-use events. Available in matte or satin finishes.
2. Fabric (tension or pillowcase-style) — lightweight, wrinkle-resistant when packed correctly, and easier to transport for events with multiple stops (roadshows, touring activations).
3. Foam board mounted panels — rigid, professional-looking, ideal for a single high-profile event where the banner needs to stay perfectly flat under studio lighting.
4. Retractable banner stands with step and repeat graphics — best for smaller footprints or events where the backdrop needs to be assembled and broken down quickly by a single person.
Commentary: For repeat clients — brands doing a recurring event series, PR firms managing multiple activations a year — fabric tends to win out because it packs down small and resists the wrinkling that plagues cheaper vinyl after a few rolls in a case. For a single big-ticket event like a product launch or gala, a foam-mounted panel or a well-tensioned fabric backdrop photographs the cleanest.
A design file that looks perfect on a monitor doesn't always translate to a photographed backdrop. A few things to check before finalizing artwork:
- Logo density. Packing too many logos into the repeat pattern shrinks each one down to the point where it's unreadable in photos taken from a normal conversational distance (roughly 4–8 feet).
- Color contrast. Light logos on light backgrounds (or the reverse) can wash out under camera flash. High-contrast combinations hold up far better across different lighting conditions.
- Bleed and repeat alignment. The repeat pattern needs to be mathematically aligned so that seams between printed panels (if the banner is produced in sections) don't cut through a logo.
Commentary: I've had clients bring in files built for social media graphics and expect them to translate directly to a 8-foot-tall printed backdrop. Resolution and proportion don't scale the same way — what looks sharp on a phone screen can look pixelated or oddly cropped once it's blown up and mounted. A proof review before final production catches this every time; skipping that step is where most reprint requests come from.
National print-on-demand sites can undercut local shops on sticker price, but for step and repeat banner nyc orders tied to a specific date and venue, local production offers real advantages:
- Same-day or next-day turnaround for last-minute event changes
- In-person proofing to catch color and sizing issues before printing
- Local delivery and setup coordination with the venue, rather than relying on freight shipping timelines
- Institutional knowledge of NYC venue requirements built over repeated jobs in the same buildings
For a wedding, product launch, or one-off gala, that flexibility is often worth more than a marginal price difference — especially since a banner that arrives damaged or late has no fix once the event is underway.
A step and repeat banner is a small investment relative to the rest of an event budget, but it's one of the most photographed and most reused pieces of brand collateral you'll produce — those photos end up on press sites, social feeds, and internal recap decks long after the event itself is over. Getting the material, finish, and design right the first time protects that afterlife.
If you're sourcing a banner for an NYC event, take the extra step of working with a print partner who understands the venue constraints specific to this market, not just a generic national printing catalog. It's the difference between a backdrop that just exists in the room, and one that actually works in every photo taken in front of it.
You can see examples of completed step and repeat setups here, and get a quote directly through Industri Designs, a large format print shop based in Manhattan that handles step and repeat production for events across NYC. Their studio is located at 175 Varick St — you can find directions and reviews on Google Maps.